Distribution of the SEED server packages
Macintosh Distribution
The Macintosh distribution is a .dmg file. You will need to choose a version based on the type of your system.
- Intel Mac systems will use the link named "myRAST-Intel.dmg".
- If you have an older PowerPC based system (a Powerbook G4, for instance, or a G5 tower system) use the link named "myRAST-PPC.dmg".
When the .dmg file is downloaded to your machine, open it by doubleclicking on it in the Finder (if your web browser has not already opened it for you). You should see a single file inside the folder:
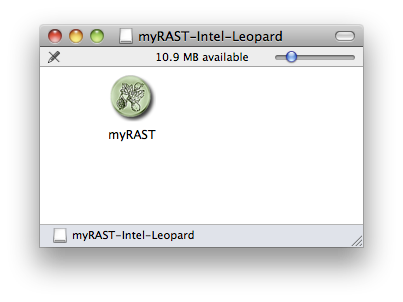
The myRAST application may be run directly from the .dmg folder if you wish to try it without installing. If you want to install it on your machine, the myRAST icon may simply be dragged to your Applications folder.
If you plan on using the command line interface, be sure to put the myRAST bin directory in your path. If you placed myRAST in the Applications folder, you would do it like this using bash:
export PATH=$PATH:/Applications/myRAST.app/bin
Windows Distribution
The Windows distribution of myRAST is packaged as a standard Windows installer here. We describe here what you should expect to see while installing. The screen shots here are from a Windows 7 system; if you have a different release of Windows they may look slightly different for you.
When you download the installer it will be named something similar to myRAST-win32.exe. Run the executable.
When you download the installer it will be named something similar to myRAST-win32.exe. Run the executable.
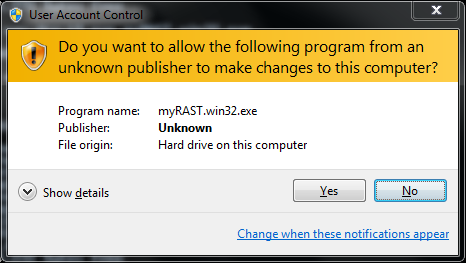
If you are using a Vista or Windows 7 system with User Access Control enabled, you will be presented with a dialog asking whether you wish to allow this program to write to your computer:
This will bring up the first of the installer windows:
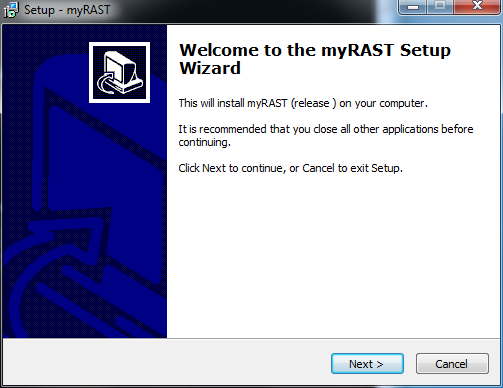
Click Next to proceed with the installation:
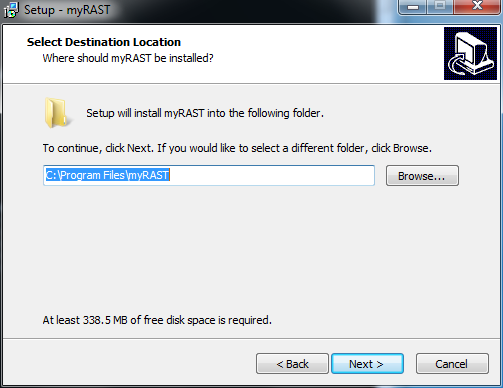
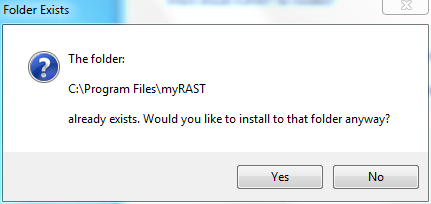
Choose the destination directory into which you would like myRAST to be installed. and click Next. If you have installed it in the past and are reinstalling a new release, you may get a dialog verifying that you wish to install to an already existing location. It is typically safe to accept this option.
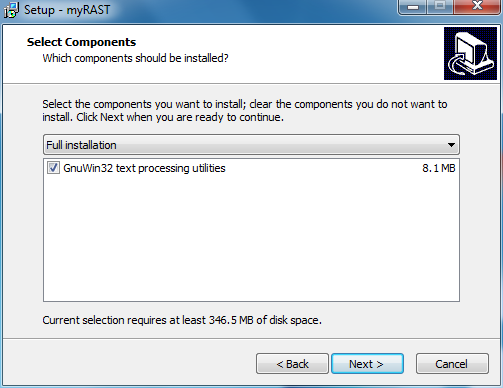
The myRAST distribution can install a set of GnuWin32 utilities that include some useful command line tools like cut and grep, familiar to Unix users. These are useful for using in conjunction with the myRAST command line tools.
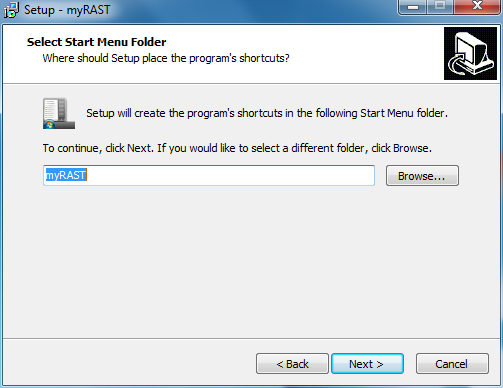
Next we choose the folder in the Start Menu into which the program links will be installed. The default should be suitable.
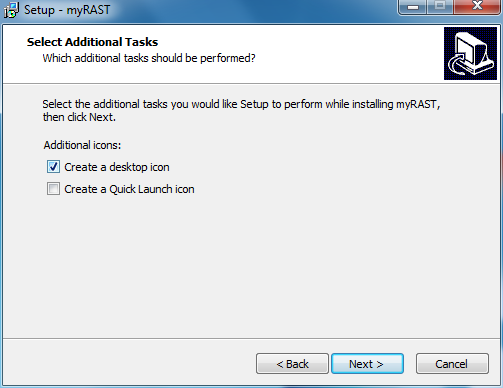
Next, the myRAST installer will create a desktop icon or Quick Launch icon if you so desire.
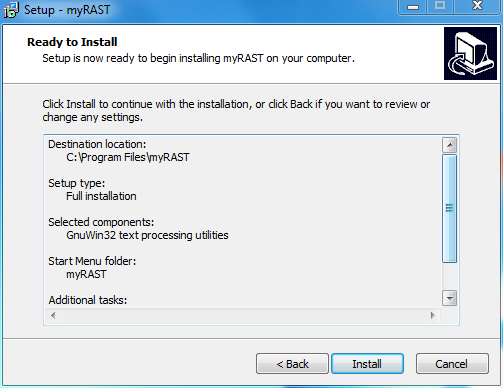
At this point all options have been specified. You can doublecheck your choices and go back to change, or click Install to proceed with the installation.
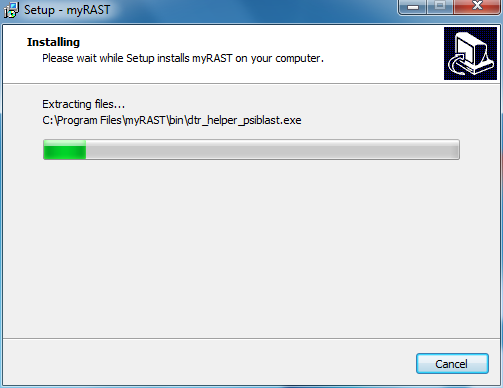
The installer will show a status bar during the installation.
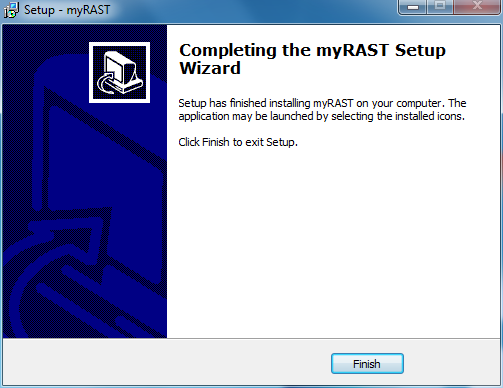
The installation is complete. Click Finish to exit the installer.
The myRAST links are installed in the Start Menu in the group that you chose during the installation:
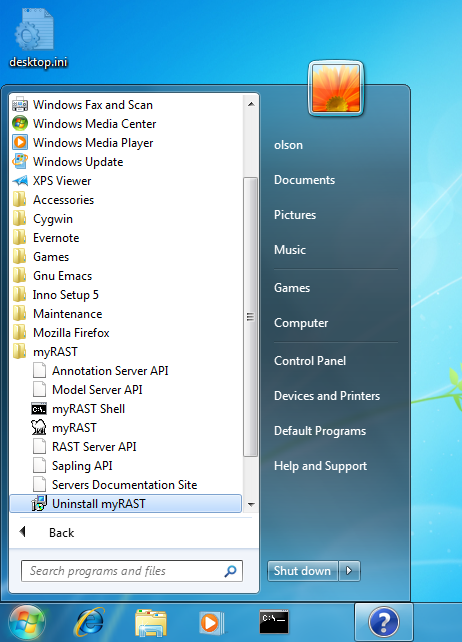
Note the Uninstall myRAST option. If you wish to remove myRAST from your computer you may use that item.
There are several links to online documentation in the myRAST folder, as well as the icon called myRAST which brings up the myRAST interface. If you wish to use the command line myRAST tools you may open a new window using the myRAST Shell icon.
If you selected the Desktop Icons option you will also see myRAST icons on your desktop:
The myRAST shell is a command shell with the myRAST environment set up for running svr commands and running your own PERL server scripts. myRAST is the application you would run to process genomes through RAST.
This completes the installation of myRAST onto your Windows computer.
Ubuntu Distribution
There is now a release of myRAST for Ubuntu Linux. The .deb files are as follows. You will need to install the myrast-runtime package, along with a few required packages:
apt-get install blast2 libwxgtk2.8-0 libdb4.8 libxml2
32-bit packages:
64-bit packages:
Once installed you may start the myRAST gui by running the command "myrast".
Linux Distribution
Download the Network-based SEED API distribution by clicking here. It is called sas.tgz. Depending on your browser and preferences, you may wind up with the sas.tgz file, or you may get the uncompressed sas.tar. Use the examples below that correspond to your file.
Installation
- Place the tarball in a directory of your choice (we use sas) and untar it. It will create several subdirectories.
- cd to the sas/modules directory and run BUILD_MODULES.
- Then, put the bin directory in your path and the lib and modules/lib directories in your perl path and you should be good to go.
Bash Example for uncompressed files (sas.tar):
mkdir sasBash example for the compressed file (sas.tgz)
cp ~/Downloads/sas.tar sas
cd sas
TOP=`pwd`
tar -xvf sas.tar
cd modules
./BUILD_MODULES
export PERL5LIB=$PERL5LIB:$TOP/lib:$TOP/modules/lib
export PATH=$PATH:$TOP/bin
mkdir sas
cp ~/Downloads/sas.tgz sas
cd sas
TOP=`pwd`
tar -zxvf sas.tgz
cd modules
./BUILD_MODULES
export PERL5LIB=$PERL5LIB:$TOP/lib:$TOP/modules/lib
export PATH=$PATH:$TOP/bin
To verify correct installation, try this:
perl -e 'use SeedEnv'It should produce no errors.
Server Packages
There are 4 server packages included in the distribution:- The Genomics ER model server - SAPserver.pm
- The MODEL server - MODELserver.pm
- The Annotation Support Server - ANNOserver.pm
- The RAST server - RASTserver.pm
Utilities
Also included is a package of utilities called SeedUtils.pm that contain functions useful for bioinformatics, but that do not require access to the databases. Click here to see the current list of functions and api descriptions.Test Releases
Following are some test releases of the myRAST tool.
Mac (Intel Leopard) Release 33A22a
Windows Release 33A22
Linux (platform independent perl library) Release 33A23