The Network-Based SEED API offers a framework that supports programmatic access to current SEED data. The system is distributed as a small set of Perl packages that the user downloads and installs locally. These packages define an API that the programmer uses to communicate over the network with the SEED environment maintained by the Fellowship for Interpretation of Genomes (FIG), Argonne National Lab (ANL) and the University of Chicago (UC). The distribution can be easily installed on a Mac or Unix-based system, and with a little extra effort, on a Windows machine. In addition to the packages that are used in constructing Perl programs, we offer a library of utility programs that offer predefined commands that can be used to extract data from the SEED.
The bulk of the functionality is offered via SAPserver.pm, a module that supports access to a database of genomic data that includes data on over a thousand genomes. The database is described abstractly via an Entity-Relationship model and is managed via metadata which makes it straightforward to extend the model, and is implemented via a standard relational database. We also offer:
- MODELserver.pm to support the construction and use of metabolic models and flux-based analysis,
- ANNOserver.pm to support annotation of DNA and protein sequences
- RASTserver.pm to support the submission of genomes to be annotated and the retrieval of the annotations.
Installation
Macintosh Distribution
- Intel Mac systems will use the link named "myRAST-Intel.dmg".
- If you have an older PowerPC based system (a Powerbook G4, for instance, or a G5 tower system) use the link named "myRAST-PPC.dmg".
When the .dmg file is downloaded to your machine, open it by doubleclicking on it in the Finder (if your web browser has not already opened it for you). You should see a single file inside the folder:
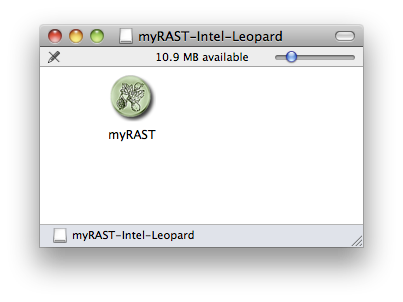
The myRAST application may be run directly from the .dmg folder if you wish to try it without installing. If you want to install it on your machine, the myRAST icon may simply be dragged to your Applications folder.
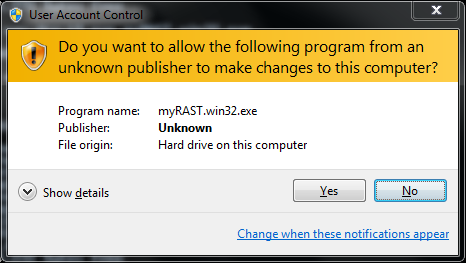
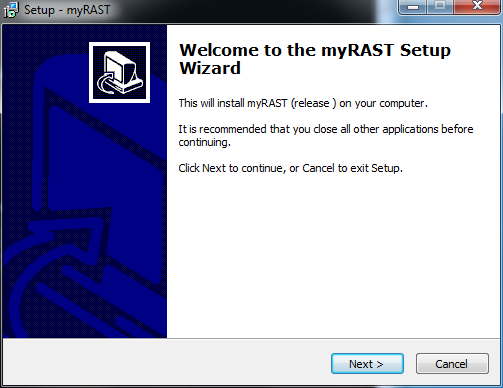
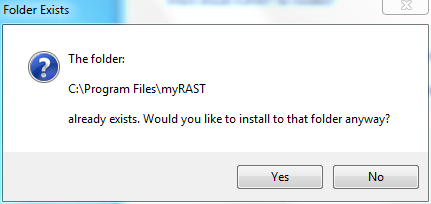
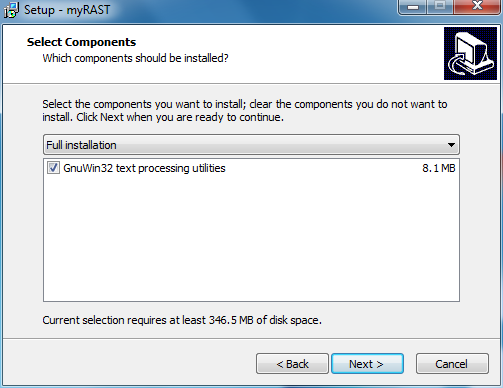
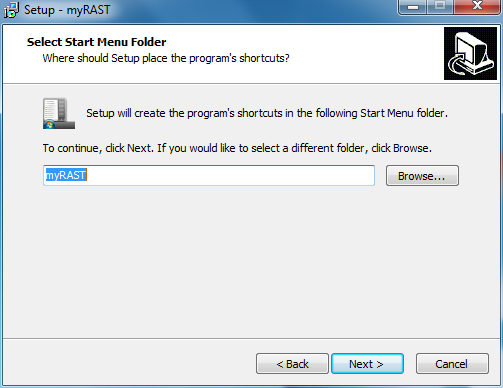
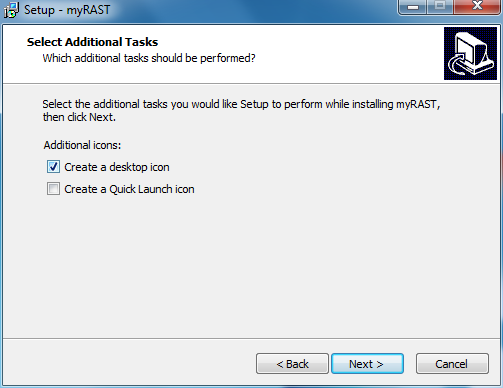
When you download the installer it will be named something similar to myRAST-win32.exe. Run the executable.
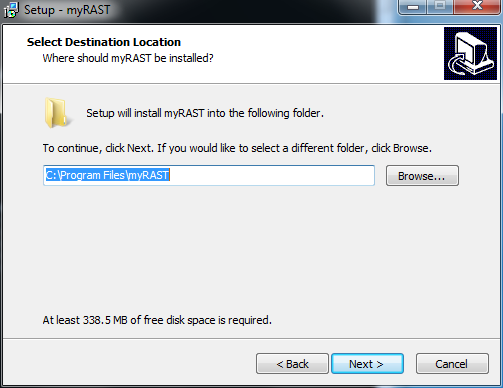
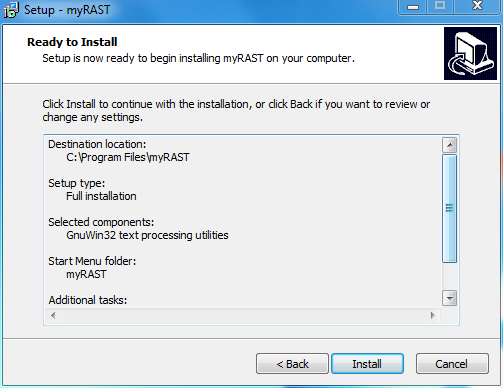
At this point all options have been specified. You can doublecheck your choices and go back to change, or click Install to proceed with the installation.
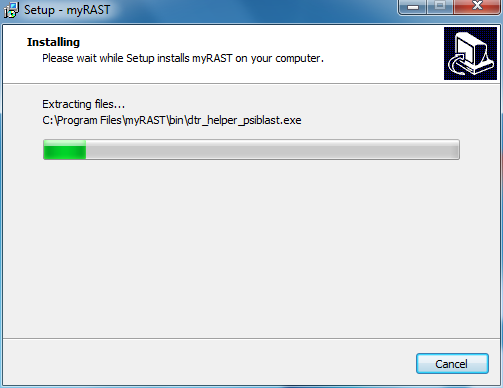
The installer will show a status bar during the installation.
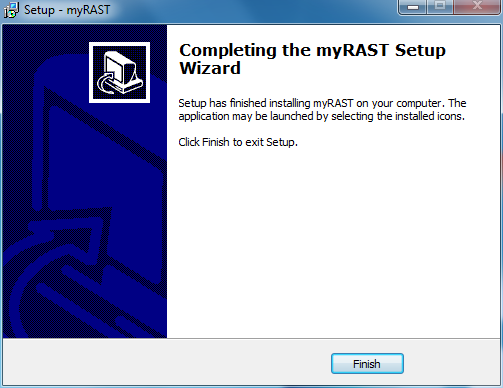
The installation is complete. Click Finish to exit the installer.
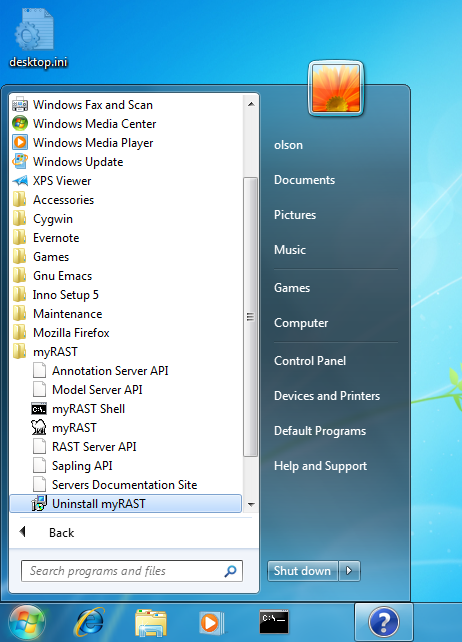
There are several links to online documentation in the myRAST folder, as well as the icon called myRAST which brings up the myRAST interface. If you wish to use the command line myRAST tools you may open a new window using the myRAST Shell icon.
If you selected the Desktop Icons option you will also see myRAST icons on your desktop:
Ubuntu Distribution
apt-get install blast2 libwxgtk2.8-0 libdb4.8 libxml2
Linux Distribution
Download the Network-based SEED API distribution by clicking here. It is called sas.tgz. Depending on your browser and preferences, you may wind up with the sas.tgz file, or you may get the uncompressed sas.tar. Use the examples below that correspond to your file.
Installation
- Place the tarball in a directory of your choice (we use sas) and untar it. It will create several subdirectories.
- cd to the sas/modules directory and run BUILD_MODULES.
- Then, put the bin directory in your path and the lib and modules/lib directories in your perl path and you should be good to go.
Bash Example for uncompressed files (sas.tar):
mkdir sasBash example for the compressed file (sas.tgz)
cp ~/Downloads/sas.tar sas
cd sas
TOP=`pwd`
tar -xvf sas.tar
cd modules
./BUILD_MODULES
export PERL5LIB=$PERL5LIB:$TOP/lib:$TOP/modules/lib
export PATH=$PATH:$TOP/bin
mkdir sas
cp ~/Downloads/sas.tgz sas
cd sas
TOP=`pwd`
tar -zxvf sas.tgz
cd modules
./BUILD_MODULES
export PERL5LIB=$PERL5LIB:$TOP/lib:$TOP/modules/lib
export PATH=$PATH:$TOP/bin
To verify correct installation, try this:
perl -e 'use SeedEnv'It should produce no errors.
Server Packages
There are 4 server packages included in the distribution:- The Genomics ER model server - SAPserver.pm
- The MODEL server - MODELserver.pm
- The Annotation Support Server - ANNOserver.pm
- The RAST server - RASTserver.pm
Utilities
Also included is a package of utilities called SeedUtils.pm that contain functions useful for bioinformatics, but that do not require access to the databases. Click here to see the current list of functions and api descriptions.ModelTutorials
Once a genome has been annotated with functional roles, we can determine what chemical reactions those roles implement. For example, in B. subtilis, we annotated a gene with the functional role "Pyruvate kinase (EC 2.7.1.40)" or "Enolase". This, of course, maps directly to a reaction, converting Phosphoenolpyruvate into Pyruvate and generating one ATP in the process. Other reaction assignments are, of course, more difficult, requiring the presence of multiple genes to form enzyme complexes. Additionally, since chemically many reactions can proceed in either direction we must determine which directions are implemented by the organism.
You can manually edit your model, adding or removing reactions and changing reaction directionality, by uploading a new model file through the Model View page. See Model View Tutorial Part 6.
In the near future we hope to add the ability to add and remove reactions directly through the SEED website. Additionally, we will allow users to switch between different biomass objective functions and formulate new objective functions.
In Model View we allow you to model growth of your organism on different media conditions. These predictions are made using Flux balance analysis.
What does this entail? We start with a model, which is the network of metabolic and transport reactions an organism an perform and a biomass objective function, and add a media formulation, just a list of compounds and their concentrations. Then we use linear optimization techniques to solve for that biomass objective function. If we are able to solve the problem and produce biomass, we get a list of "fluxes" through reactions that tell us which parts of the cell's metabolism are being used.
You can run flux balance using the Model View pages. See Part 5 of the Model View Tutorial for details.
In the near future we will allow users to upload growth phenotype data. In it's basic form, this is simply whether or not an organism grew on a specific media.
Adding to this, we hope to allow for an number of complex phenotypes:
- Phenotype of growth of organism strains where genes have been added or removed.
- Gene-level microarray expression data on organisms and strains.
With these simple and complex phenotypes, hope to allow users to track how closely their models fit to observed results, allowing users to modify the organism model until predictions and observed phenotypes converge.
Once we have determined which reactions are implemented by an organism's annotated genes, we can construct the initial model: this is essentially a stoichiometric matrix and a biomass objective function, essentially the parts list that a cell needs to produce the biomass it needs to grow.
However, in most cases this model is not yet functional. If we attempt to grow it on complete media, i.e. LB, it will fail to produce all the parts needed for the biomass function. This is where model gap-filling comes in. We insert candidate transport and standard reactions until the cell successfully grows on complete media. These reactions are clearly labeled in the initial model. In the Model View Tutorial, you can search for gap-filled reactions in the Reaction table.
See Using Model View for details on viewing your initial model.
Usage
The Sapling Server (API)
The SAPserver.pm package offers programmatic access to the data maintained in the Sapling DB within the SEED. The Sapling DB is described by an entity-relationship model that depicts the basic entities maintained within the database and the relationships that we have encoded between them. This offers the basic foundation upon which most of the SEED toolkit resides. The methods offered by Sapling Objects support a rich set of operations against genomic data. Using the methods described in the API, the user has access to genomes, annotations, functional coupling data, protein families, subsystems, and a rapidly growing number of more specialized forms of data. To see the overall ER diagram and the relations that implement it see the Sapling webpage.
A complete tutorial is offered in SAP tutorial.
The Annotation Support Server (API)
The ANNOserver.pm package supports capabilities relating to annotation of genomes. It supports invocation of standard gene callers (Glimmer3 for protein-encoding genes), and newly-developed high-performace methods to assign function to protein sequences or regions of DNA fragments (based on FIGfams and a unique use of K-mers that act as signatures of FIGfams). We include an example application based on these methods that can be used to produce relatively acurate annotation of most microbial genomes within a few minutes.The RAST server (API)
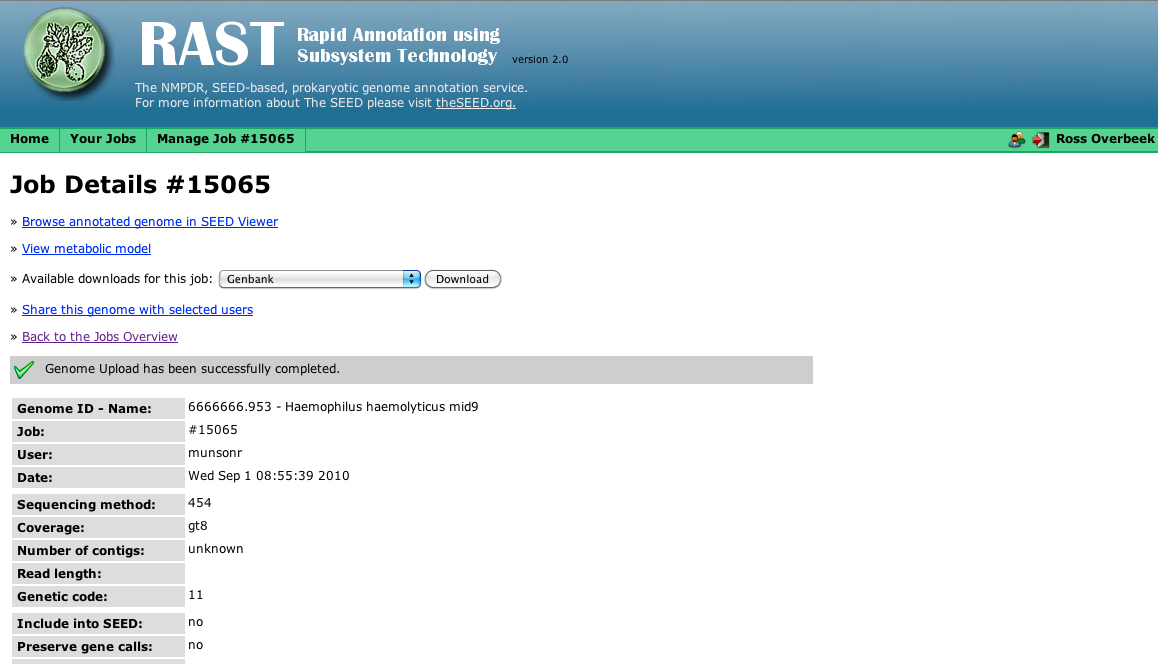
RAST is a publicly-available server for the annotation of microbial genomes. It is maintained by a team at Argonne National Lab and FIG. Currently, it has over 2600 registered users, and several thousand genomes have been run through the service in the last couple of years (often several times!). The RASTserver.pm package was created to support programmatic submision of genomes to RAST, the retrieval of status, and the retrieval of the final set of annotations. The Model Server (API)
This server provides access to all data associated with the biochemistry database and the genome-scale metabolic models stored within the SEED. This server also provides the user with the ability to run a set of simple flux balance analysis studies with the SEED models. A detailed description of the interface is here.set SAS_SERVER=PSEED
As a short example of using these scripts, to get a list of all genomes, you could do this at the command line:
svr_all_genomes completeThis would produce a two column table of all genomes (all complete genomes if you use the "complete" argument) in the SEED or PSEED. The first column is the genome name, and the second is the id, like this:
- Downloading a Subsystem
- Downloading a Genome
- Downloading the FIGfams
- Getting Summaries of Functional Content and OTUs for an Metagenomic Sample
- An Etude Relating to a Metagenomics Sample
- Annotating a genome using the SEED servers
- A Short Note on Mapping PEGs to Subsystems
- A Short Note on Use of Server Scripts to Access Functional Coupling Scores
- Downloading the FIGfams
- Getting all IDs, Aliases and Assertions of Function for One or more Protein sequences
A single job may be submitted using svr__submit_RAST_job. This script takes a number of arguments which define the parameters for the submission:
| --user username | RAST login for the submitting user |
| --passwd password | RAST password for the submitting user |
| --genbank filename | If submitting a genbank file, the file of input data. |
| --fasta filename | If submitting a FASTA file of contigs, the file of input data. |
| --domain Bacteria or | |
| --domain Archaea | Domain of the submitted genome. |
| --taxon_id taxonomy-id | The NCBI taxonomy id of the submitted genome |
| --bioname "genus species str." | Biological name of the submitted genome |
| --genetic_code ( 11 | 4 ) | Genetic code for the submitted genome, either 11 or 4. |
| --gene_caller | Gene caller to use (FigFam-base RAST gene caller or straight Glimmer-3) |
| --reannotate_only | Preserve the original gene calls and use RAST |